
Vitavia Triton 2500 Handleiding
PDF handleiding · 32 Pagina's
Nederlands



Snelle check
Onjuist antwoord, probeer opnieuw.
Chat met je Vitavia Triton 2500-handleiding via AI
Krijg direct AI-antwoorden uit je Vitavia Triton 2500-handleiding
Vraag alles over Vitavia Triton 2500. Antwoorden komen uit deze handleiding, met de pagina's waarop ze zijn gebaseerd.
Triton 2500 Onderhoudsschema
Schoon de bovenste en onderste deursporen regelmatig om ophoping van vuil te voorkomen.
Was de kas grondig af met een milde reiniger die niet agressief reageert met aluminium of glasbevestigingsclips.
Gratis onderhoudsherinneringen
Afgestemd op uw aankoopdatum. Altijd gratis, op elk moment afmelden.
Stel eenVraag
Beveel je Triton 2500 aan?
Ja NeeVeelgestelde Vragen
Ze is ontworpen voor het kweken van planten in een beschermde omgeving. Het aluminium frame en de 4mm beglazing helpen een praktische ruimte te creëren voor zaailingen, kruiden, bloemen en andere gewassen die baat hebben bij beschutting en stabiel licht.
Is dit antwoord nuttig?
Ja. De handleiding benadrukt dat de basis haaks en waterpas moet zijn, en dat de kas altijd verankerd moet worden. Afhankelijk van de locatie en lokale omstandigheden kan een stalen basis, stenen fundering of betonnen basis worden gebruikt.
Is dit antwoord nuttig?
De UV-bestendige zijde van de polycarbonaatpanelen moet naar buiten wijzen. Dit helpt de panelen goed te functioneren in de buitenlucht en zorgt ervoor dat de kas in de bedoelde oriëntatie wordt gemonteerd.
Is dit antwoord nuttig?
Ja. De instructies beschrijven zowel draaideur- als schuifdeurconfiguraties. Je kunt tijdens de montage de openingsrichting kiezen, zodat de kas beter past bij de indeling van je tuin.
Is dit antwoord nuttig?
Maak haar af en toe schoon met een mild schoonmaakmiddel, vermijd agressieve chemicaliën en houd de deurrails vrij van vuil. Regelmatig onderhoud helpt het aluminium frame, de beglazing en de bewegende onderdelen te beschermen.
Is dit antwoord nuttig?
Sluit bij harde wind alle deuren en ventilatieopeningen. Bij zware sneeuwval moet je de sneeuw van het dak verwijderen of de constructie goed ondersteunen. De handleiding raadt ook aan om de kas in de winter indien nodig te verwarmen.
Is dit antwoord nuttig?
Voordelen en Nadelen
Voordelen

- Licht aluminium frame houdt de constructie handelbaar en ondersteunt toch een stabiele kasopstelling.
- 4mm polycarbonaatbeglazing helpt planten te beschermen en de groeiomstandigheden binnenin te behouden.
- Dakraam verbetert de luchtcirculatie en helpt warmte op zonnige dagen te beheersen.
- Deurconfiguratie kan worden aangepast aan verschillende indelingen, met draaideur- of schuifopties.
- Ontworpen om stevig verankerd te worden, wat veiliger langdurig gebruik ondersteunt.
Nadelen

- Montage is gedetailleerd en tijdrovend, dus het is geen snel project voor één persoon.
- De basis moet perfect haaks en waterpas zijn, wat extra voorbereiding vraagt.
- Panelen en profielen moeten voorzichtig worden behandeld, omdat scherpe randen en breekbare onderdelen letsel kunnen veroorzaken.
- Bevestigingsmiddelen mogen niet te vast worden aangedraaid, dus de opbouw vraagt geduld en aandacht.
- Prestaties hangen af van regelmatig onderhoud, waaronder het schoonmaken van rails en beglazingsoppervlakken.
Product Specificatie
Beglazing
Polycarbonaat 4mm (dubbelwandige platen)
Frame
Aluminium
Kleur
zilver
Oppervlakte
2,5 m²
Speciale kenmerken
Dakvenster
Deur
Schuifdeur
Afmetingen (LxBxH)
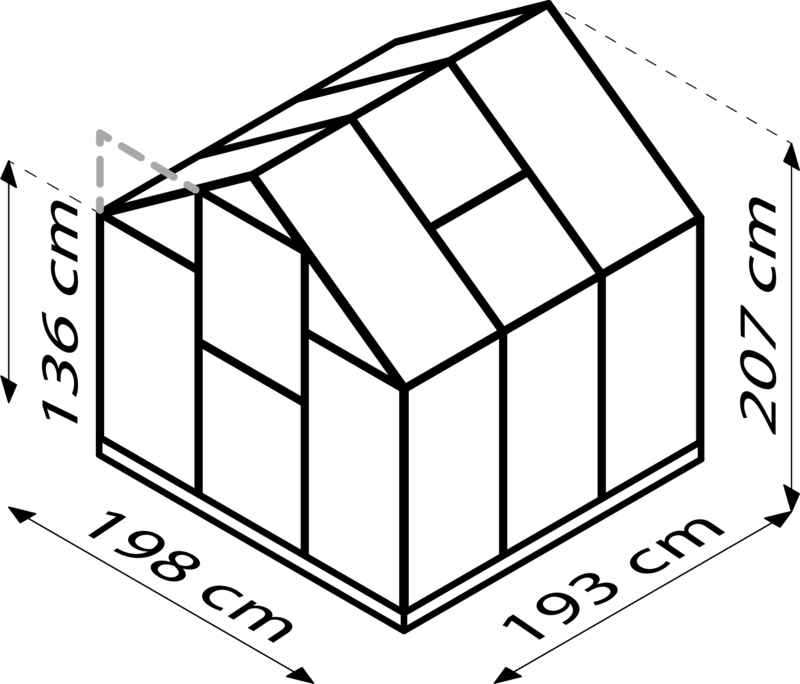
1980 x 1310 x 2070 mm
Product Beschrijving
Vitavia Triton 2500 HKP 4mm Aluminium Kas
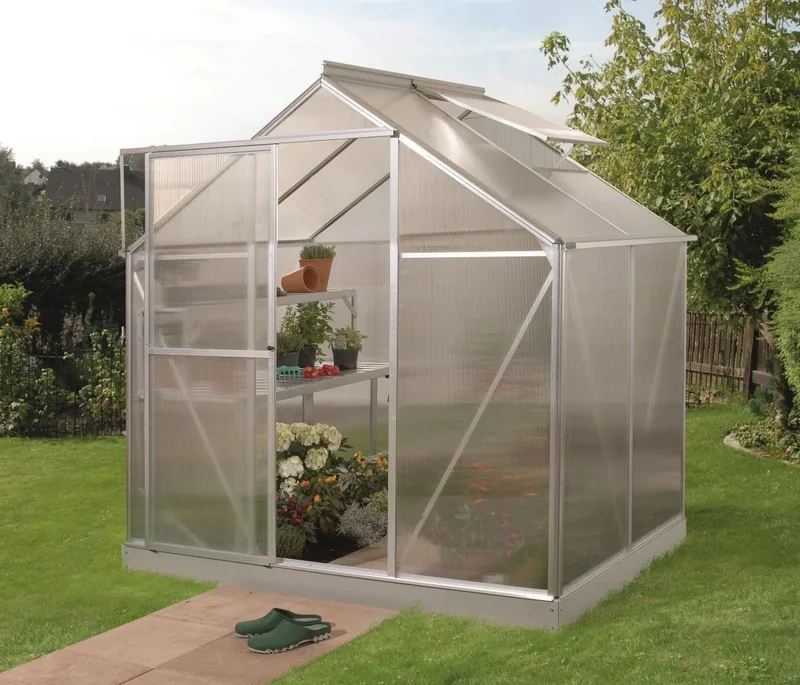
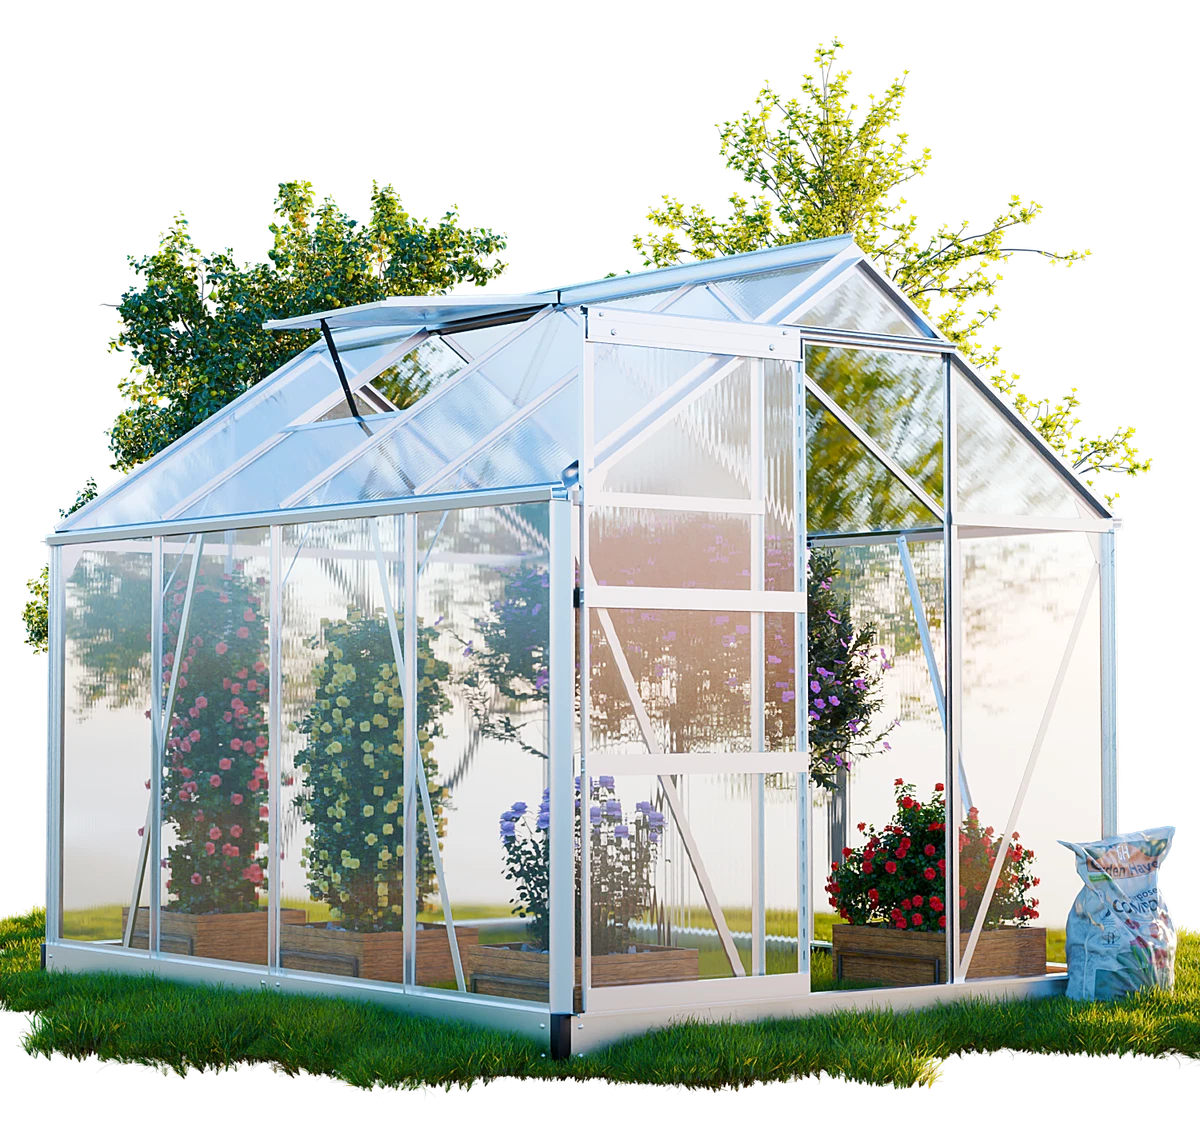
De Vitavia Triton 2500 HKP 4mm aluminium kas is gebouwd voor tuiniers die een praktische, duurzame ruimte willen om planten te kweken door wisselende seizoenen heen. Het aluminium frame geeft de constructie een strakke, lichte uitstraling en biedt tegelijk de sterkte die nodig is voor langdurig gebruik. De 4mm beglazing helpt een beschermde groeiomgeving te creëren, waardoor dit een slimme keuze is voor zaailingen, kruiden en compacte groentegewassen.
Wat het meest opvalt in de Vitavia Triton 2500 HKP 4mm aluminium kas handleiding is de focus op stabiliteit en zorgvuldige montage. De kas is ontworpen om verankerd te worden op een stevige, vlakke fundering, zodat ze ook in blootgestelde omstandigheden veilig blijft staan. Die aandacht voor de basis is belangrijk, omdat een kas het best presteert wanneer het frame haaks staat, de panelen correct zijn geplaatst en elke verbinding met zorg in plaats van met kracht wordt vastgedraaid.
Ook het beglazingssysteem is een sterk punt. De polycarbonaatpanelen zijn UV-bestendig aan de juiste zijde, dus ze moeten met de buitenkant correct naar buiten worden geplaatst. Daardoor is de kas betrouwbaarder voor dagelijks gebruik en blijft de lichtdoorlatendheid binnenin behouden. De handleiding laat ook zien dat het ontwerp een dakraam bevat, wat handig is om warmte en luchtstroming te regelen tijdens warmere dagen.
De functionaliteit is overal doordacht. Afhankelijk van de opstelling kan de deur als draaideur of schuifdeur worden geplaatst, waardoor je flexibiliteit hebt op basis van je ruimte en werkwijze. Dat maakt de kas eenvoudiger aan te passen aan verschillende tuininrichtingen. Ook het onderhoud is eenvoudig: regelmatig schoonmaken, de deurrails vrij houden en af en toe wassen met een mild schoonmaakmiddel helpen zowel het aluminium frame als de beglazing in goede staat te houden.
Voor tuiniers die op zoek zijn naar een compacte kas met een praktische opbouw en een duidelijke montagemethode, biedt dit model een evenwichtige combinatie van gebruiksgemak en betrouwbaarheid. Het is het meest geschikt voor gebruikers die een gestructureerde installatie waarderen en een kweekruimte willen die consistente teelt ondersteunt, in plaats van alleen een decoratief element.
Opmerkingen
- Best met twee personen te installeren.
- Gebruik een perfect haakse, vlakke fundering.
- Houd ventilatieopeningen en deuren gesloten bij harde wind.
- Verwijder sneeuw van het dak in de winter.
- Draai bevestigingsmiddelen niet te vast; volg de maximale aandraaimomenten.
Zoek naar 67.706 Handleidingen online


Typ merk of model in