Manual.ly Logo

Vitavia Freya Handleiding

0,0 · 0 Beoordelingen

PDF handleiding · 40 Pagina's

Nederlands

M: QW-35-FL
pagina

/ 40

Loading...
b5e7c67602f6168892e69dfe410a71ca1e5d page 7
7
(4201) into the bolt channel in roof middle bars
(4256) (4.21).
Loosely connect the end horizontal bar (4275)
to roof glazing bars (4254 / 4256) and both
roof corner bars (4239 / 4240, 4245 / 4246)
(4.22).
Adjust the greenhouse until it is completely
square and tighten all bolts.
Please do not over tighten. (max. 3Nm)
5L and 5R. DOORS
Attention: Do not stand the assembled
doors on the door gliders (1014) to avoid
damaging them.
Push the door gliders (1014) onto both ends of
door bar (1360) (5.1).
Assemble the doors as shown in diagram 5.
Bolt door bar (1362) to upper bar (1359) (5.3)
and slide door seals (2021) into door bars
(2058) (5.5). Slide bolts (1500) into the bottom
of the bolt channel holding brush seals (2021)
and x it in place using nut (1515) (5.6). Cut
the door seals (2021) to length. Please ensure
that for the inside side bar the part (2098) is
used on the left in (5L) and (2099) on the right
in (5R).
Connect door rollers (1015) to the door bar
(1362) using bolt (1304), washer (1009) and
nut (1007) (5.4).
Connect door runner bar (1347) onto
horizontal bar (4234) (5.7). Connect spacers
(4208) (5.9L), (4209) (5.9R) and (4210) (5.8)
as shown.
Connect bolt (2001) at the join between both
(1347) as shown (5R).
Now slide the door rollers into the door runner
bar (1347) (5.10). Please ensure that the door
gliders are also running on the bottom track
(5.11). Once the doors are correctly in place,
connect nuts and bolts into the ends of both
door runner bars (1347), as door stoppers.
Adjust the doors so that they move freely.
6. VENTS
Note: Warm window seal (6034) to room
temperature! Press seal (6034) centrally onto
the top edge of glass pane (8) (6.1). Do not
stretch.
Make a cut into the seal at the corner (6.2) and
then press the seal onto the side and bottom
edges of pane (8), cutting to t around each
corner.
Fit vent bottom bar (6024) over the seal
(6.3) and then side bars (6020) and (6021).
Connect these at the corners using screws
(1008) (6.4).
Finish pressing the seal onto the top edge and
cut to length in the middle. Fit the top vent bar
(6025) and connect to side bars (6020) and
(6021) with screws (1008) (6.5).
Ensure that the vent is totally square before
tightening all screws.
Slide top vent bar (6025) into hinge bar (4247)
(6.6).
Loosely connect hinge bar (4247) between
glazing bars (4232) using bolts (2001) and
nuts (1002) (6.7) (6.8).
Loosely connect vent sill (6019) between
glazing bars (4232) using bolts (2001) and
nuts (1002) (6.9).
Lift vent sill bar (6019) and t it to the vent.
When correctly positioned tighten all bolts on
the inside.
Bolt the vent opener (1067) onto bar (6024)
using screws (6062). Connect both vent xers
(6056) onto sill bar (6019) using screws (6062)
(6.10) (6.11).
7. GLAZING – POLYCARBONATE / GLASS
Please note the already mentioned safety
precautions.
On the roof x the polycarbonate glazing
panes in place using the wind xing strips
(6614 / 6615) (7.2).
Note! The 6mm polycarbonate panes must be
assembled without using the glazing list (1020)
on the proles (7.1).
Important! The UV-resistant side is indicated
by the plastic lm and printing at the edge.
This side must face outside. Remove the lm.
Note! Completely remove the lm only after
the pane has been positioned in the
greenhouse. (The panes are cut marginally
shorter to allow for expansion in warm
conditions).
In order to give the Polycarbonate panes extra
stability connect them, in the middle of each
pane, to the eave prole with Z prole (1318)
(7.4) and at the ridge by pushing spacer
(2399) onto the ridge bars (4250) & (4275)
(7.3) (7.5).
Press the glazing seals (1020) onto the side
and door aluminium proles (7.6) and cut to
length.
On the side and doors x the glass panes in
place using the wind xing strips (6601 - 6608)
(7.7).
Note: Please follow the plan to cut the wind
xing strips to t the different positions (7.8).
If you’ve chosen polycarbonate sheets instead
of glass panes, please use the instruction
included in the box with the polycarbonate
sheets.
8. DOWN PIPES
Connect the down pipe parts on both sides of
the house as shown, (8.1) to (8.6). Ensure the
connection (1417) is included between (1408)
and (1402) (8.2).
9. LOUVRE (7600)
In the right eld above the door, connect
louvre sides (4203) and (4204) onto glazing
bars (4267) using bolts (2001) and nuts (1002)
(9.1) (9.3). Connect door strengthener (4206)
using spacer (4207) over louvre side (4203)
(9.1)(9.2).
Slide glass pane (13) into the ridge bar to sit
on louvre sides (4203) and (4204) (9.6) and x
in place using a cut length of the wind xing
strips (9.4) (9.5).
Open the louvre holders (9.6) and slide panes
(14) into the holders on both sides (9.7). Bend
the aluminium ends to x the panes in place
(9.8).
FINISHING
If desired, it is possible to seal the greenhouse
at the edges using neutral silicone. Silicone is
not in cluded.
Place the warning label inside the house.
A full range of accessories is available to help
you make the most of this product. Please
contact your local stockist for details.
SAFETY NOTICE
In the event of high winds, close all doors and
vents.
In the event of heavy snowfall, clear the roof of
the building or take suitable measures to
support the roof. Heat the building in winter.
COMMENTS
For the complete protection of your new
greenhouse, we advise you to include it in
your house insurance. Please take note of
possible building rules relating to the position-
ing of greenhouses.
Please stick the included greenhouse model
label onto the door bar (1362) after
successfully assembling this product. This
information is important in the event that
replacement parts are later required.
Please keep these Assembly Instructions in a
safe place, for future reference!
Our policy is one of continuous improvement
and we reserve the right to change the
specications without prior notice.
069.01.2007

Chat met je Vitavia Freya-handleiding via AI

Krijg direct AI-antwoorden uit je Vitavia Freya-handleiding

Vraag alles over Vitavia Freya. Antwoorden komen uit deze handleiding, met de pagina's waarop ze zijn gebaseerd.

Freya Onderhoudsschema

Occasionally
Was de kas met een mild schoonmaakmiddel

Was de kas af en toe grondig met een mild schoonmaakmiddel dat niet agressief reageert met aluminium of bevestigingsclips voor glas.

Regularly
Reinig boven- en onderdeurrails

Zorg ervoor dat de boven- en onderdeurrails regelmatig worden gereinigd om ophoping van vuil te voorkomen.

As needed
Verwijder sneeuw van het dak bij zware sneeuwval

Bij zware sneeuwval, verwijder de sneeuw van het dak van de constructie of neem passende maatregelen om het dak te ondersteunen.

M: qwen/qwen3.8-flash

Stel eenVraag

0/1000

Beveel je Freya aan?

Ja Nee

Veelgestelde Vragen

A

Kies altijd een zonnige standplaats zo veel mogelijk beschut tegen de wind. Vermijd het plaatsen in de buurt van hoge gebouwen of bomen waar turbulentie kan optreden tijdens stormen.

Is dit antwoord nuttig?

A

U heeft schroevendraaiers, ringsleutels, een mes, maatlat, waterpas, zaag en een accuboor met instelbare koppelinstellingen nodig.

Is dit antwoord nuttig?

A

De UV-bestendige kant wordt aangegeven door een plasticfolie en bedrukking aan de rand. Deze kant moet naar buiten wijzen. Verwijder de folie pas na het positioneren van het paneel.

Is dit antwoord nuttig?

A

Ja, de kas moet altijd worden verankerd. Indien geplaatst op winderige plekken, boor door het profiel en stalen basis en verbind ze met moeren en bouten.

Is dit antwoord nuttig?

A

Zorg dat de bovenste en onderste deursporen regelmatig worden schoongemaakt om ophoping van vuil te voorkomen. Dit voorkomt verstopping en slijtage aan bewegende onderdelen.

Is dit antwoord nuttig?

A

Nee, het product is uitsluitend bedoeld voor het kweken van planten. Bij gebruik voor andere doeleinden dragen wij geen aansprakelijkheid voor rechtszaken.

Is dit antwoord nuttig?

A

Als er iets ontbreekt neem dan onmiddellijk contact op met uw verkoper. Probeer de kas niet te gebruiken zonder de complete set te voltooien.

Is dit antwoord nuttig?

M: QW-35-FL

Voordelen en Nadelen

Voordelen

  • Robuust aluminium frame is roestvast en biedt structurele stabiliteit over vele jaren
  • Flexibele beglazingsopties maken selectie van glas of polycarbonaatplaten eenvoudig
  • Nokventilatieramen zorgen voor effectieve luchtcirculatie om oververhitting in de zomer te verminderen
  • Schuifdeuren besparen ruimte vergeleken met traditionele scharnierontwerpen buiten
  • UV-bestendige panelen beschermen planten effectief tegen harde zonneschade
VS

Nadelen

  • Vereist een perfect waterpas en vierkant fundament voor correcte montage
  • Twee personen worden sterk aanbevolen om de aluminiumprofielen veilig te hanteren
  • Goten en afvoerbuizen moeten apart worden geïnstalleerd om regenwaterafvoer te beheren
  • Maximale aandraaitorques moeten worden gerespecteerd om schade aan draden te voorkomen
  • Basisverankering is verplicht voor veiligheid op locaties blootgesteld aan sterke wind
M: QW-35-FL

Product Specificatie

Kader

Aluminium

Deur

Dubbele schuifdeur

M: QW-35-FL

Product Beschrijving

Ontdek Tuinbouwwereld met de Vitavia Freya Kas Handleiding

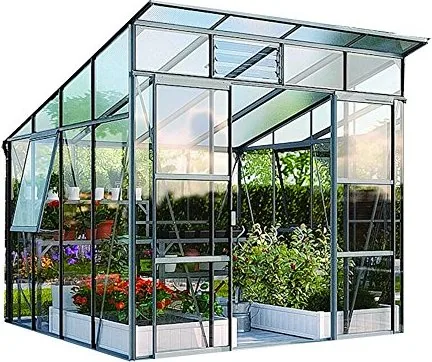
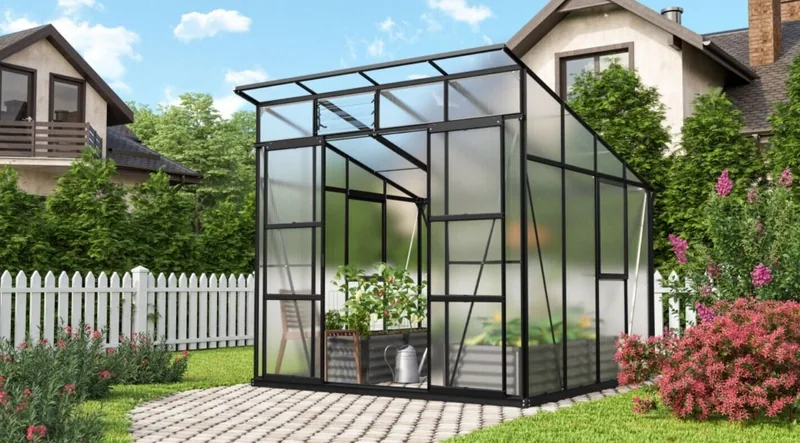
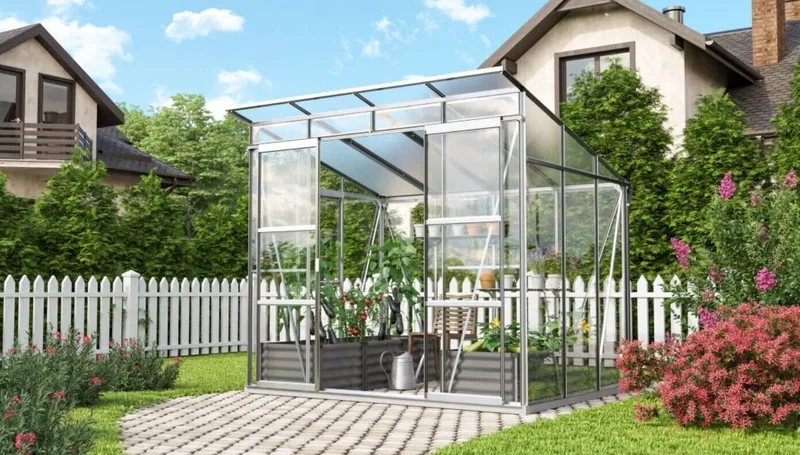
Het creëren van een bloeiende tuin-oase begint met de juiste apparatuur. Deze robuuste kas biedt een perfecte omgeving voor het kweken van planten gedurende elk seizoen. Ontworpen voor zowel hobbyisten als ervaren kwekers, biedt het voldoende ruimte en lichtcontrole essentieel voor succes. Het aluminium frame zorgt voor stabiliteit terwijl het flexibiliteit voor diverse sitecondities toelaat. Veel gebruikers waarderen het strakke ontwerp dat buitenruimtes prachtig aanvult.

Installatieoverzicht

Goede opstelling is cruciaal voor lange termijn prestaties. Kies een zonnige locatie beschermd tegen sterke wind om delicate bladeren te beschermen. Een solide fundament is vereist en moet waterpas en vierkant zijn voordat men voortgaat. Bij het assembleren van de losse elementen helpt het om twee personen om de aluminiumprofielen veilig te behandelen. Controleer alle onderdelen tegen de inventarislijst voordat verpakkingbundels worden geopend. Losse verbindingen zijn normaal aanvankelijk tot definitieve uitlijning plaatsvindt. Vastbouten zorgvuldig zonder toepassingen van excessieve kracht voorbij de gespecificeerde limieten.

Materiaalkwaliteit en Opties

Kies tussen polycarbonaat ruiten of glas afhankelijk van uw voorkeur. Polycarbonaat biedt lichter gewicht en betere isolatie-eigenschappen in kouder klimaat. Glas biedt helderheid en klassieke esthetiek voor traditionele tuinsystemen. Ongeacht de keuze, zorg ervoor dat de UV-bestendige kant naar buiten gericht is tijdens installatie. Verwijder beschermingsfilms pas na het correct positioneren van elk paneel. Beglazingsstangen vergrendelen de platen stevig tegen windbelastingen natuurlijk. Ventilatieramen op de nok laten hete lucht efficiënt ontsnappen tijdens zomerhittegolven.

Onderhouds- en Servicestrategieën

Regelmatig onderhoud houdt uw structuur optimaal functioneel voor jaren. Was het frame af en toe met milde reinigingsoplossingen om vuilaanslag te verwijderen. Reinig deurdelen frequent om ophoping van puin te voorkomen dat beweging bemoeilijkt. Inspecteer pakkingen periodiek om waterdichte integriteit binnen de omsluiting te behouden. Ruim sneeuw vanaf het dak onvertraagd in wintermaanden weg om valrisico's te vermijden. Verwarming kan noodzakelijk zijn wanneer temperaturen significant onder vriesniveaus dalen.

Aanvullende Overwegingen

Accessoire-opties verbeteren functionaliteit aanzienlijk. Planken en watersystemen kunnen later lokaal worden toegevoegd. Verzekeringspolissen die tuinstrucuren dekken zijn wijze investeringen. Houd model-etiketten aan deuren bevestigd voor identificatiebehoeften. Doorlopende verbeteringen betekenen dat nieuwere versies binnenkort kunnen verschijnen.

M: QW-35-FL

© Copyright 2026 Manual.ly