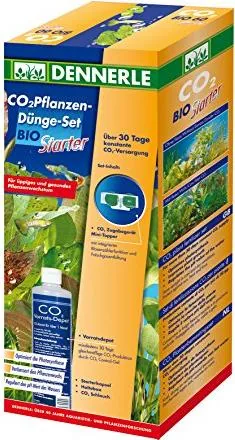
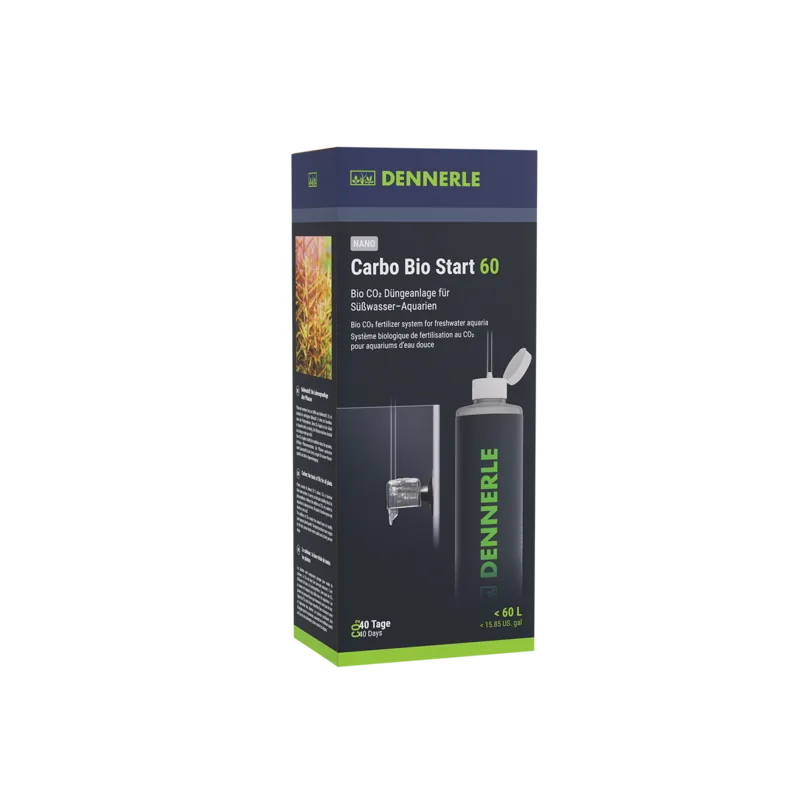
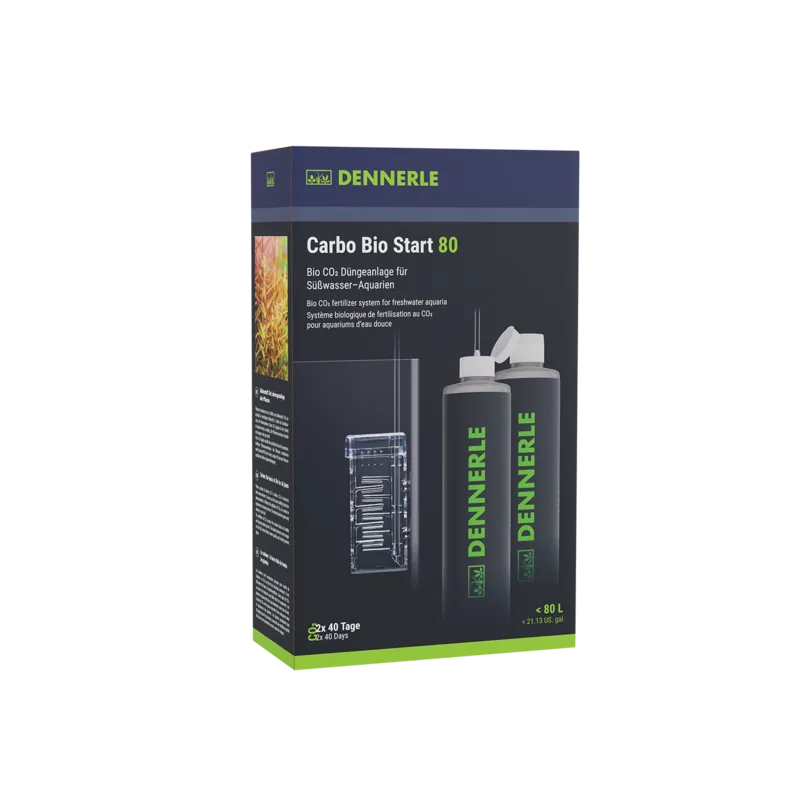
Bio Starter
Biological CO
2
fertilization for 60 cm aquaria (50-80 l).
With control gel and Mini-Topper.
What’s what
햲 Bio CO
2
bottle with starter capsule
햳 Bottle support
햴 CO
2
hose
햵 CO
2
Mini-Topper
Set-up and connection
1 Select a readily accessible point on the aquarium for attachment of the bottle support. Remove protective film from adhesive strip. Place
Bio CO
2
bottle in bottle support and fix bottle support in place in an upright position at the top of a clean, grease-free aquarium pane.
Press the two fixing tabs with the adhesive strips at the sides of the bottle support firmly onto the aquarium pane.
Please note: The adhesive strips grip the pane very firmly. The bottle support cannot be moved, once it has been pressed firmly into
place.
2 Remove bottle from support and unscrew top of Bio CO
2
bottle. Open hinged lid and remove starter cap-sule. Remove green half of
capsule by pulling carefully upwards. Pour contents of the starter capsule into the CO
2
bottle. Insert empty capsule halves into the
bottle as well.
3 Fill CO
2
bottle up to marking (arrows) with tap water at a temperature of 20 to 25 °C (not over 25 °C!). Screw bottle top firm.
Note: The hose connector on the bottle top incorporates a white micro-filter – do not remove.
4 Break off or carefully cut off hinged lid.
5 Fit hose firmly to hose connector.
6 Place CO
2
bottle in bottle support. Note: CO
2
production causes the CO
2
bottle to expand somewhat.
Note: The bottle support is correspondingly larger, so as to enable it to expand without any problems.
7 Rinse Mini-Topper with warm tap water (no detergents!).
8 Connect CO
2
hose to Mini-Topper. Select a spot in the aquarium where the water movement is good. The selected location should not be
too exposed to light, in order to prevent algae formation. Fix Mini-Topper in place in a horizontal position with its opening facing
downwards, 5-10 cm below the surface of the water.
When the system is applied correctly, CO
2
production will begin within 24-48 hours and your aquarium will be supplied with CO
2
for at least
30 days.
Changing the CO
2
bottle
When bubbles no longer issue from the Mini-Topper’s opening, this indicates that the supply of CO
2
has been used up. Proceed as follows:
• Remove CO
2
bottle from bottle support and disconnect hose from bottle top.
• Activate and connect new Bio CO
2
bottle.
The contents of the used CO
2
bottle can be disposed of via the sewerage system.
Cleaning the Mini-Topper
Use warm water and a soft sponge. Do not use any cleaning agents. The waste gas vent should be kept clean at all times and should not
be blocked by algae or leaves.
What if ... – Troubleshooting
Special information
Shelf life in unopened condition: Bottle contents approx. 5 years; starter capsules: approx. 12 months at 20 °C, approx. 19 months at
10 °C. Consequently, please store Bio CO
2
bottles in cool and dry conditions. Protect from sunlight, heat and frost!
Important:
• Should larger quantities of the bottle contents accidentally enter into the aquarium water during operation of the Bio CO
2
fertilizer
system, this may cloud the water and lead to oxygen deficiency. In this case, part of the water should be replaced immediately and the
fertilizer system should be checked for correct functioning. For this reason, do NOT fill the CO
2
bottle beyond the marking (arrows)!
Always use the bottle inits support, to prevent it from falling over!
• Always keep CO
2
bottle out of the reach of children and in an upright position!
Spare parts (available from specialist retailers)
3004 Bio CO
2
bottle
1557 5 starter capsules
1515 2 Longlife suction clips
Bio Starter
Fumure biologique au CO
2
pour aquariums de 60 cm (50-80 l).
Avec gel de contrôle et Mini-Topper.
Explications
햲 Bouteille de production de CO
2
bio avec capsule de démarrage
햳 Boîtier de support
햴 Flexible CO
2
햵 Mini-Topper CO
2
Structure et raccordement
1 Choisissez un endroit facilement accessible de l’aquarium pour fixer la boîte support. Détachez le film protecteur des bandes adhésives.
Installez la bouteille de CO
2
bio dans la boîte support, et la boîte de support dans le haut de l’aquarium, collez-le verticalement sur une
vitre propre et dégraissée. Appuyez fermement sur les pattes de fixation latérales dotées de bandes adhésives.
Important ! Les bandes adhésives collent très bien. Une fois que vous aurez appuyé, vous ne pourrez plus déplacer le boîtier de support.
2 Retirez la bouteille de la boîte support et dévissez le couvercle de la bouteille CO
2
bio. Basculez le couvercle rabattable et prélevez la
capsule de démarrage. Retirez la moitié verte de la capsule prudemment vers le haut. Versez son contenu dans la bouteille. Introduisez
également les moitiés de capsule vides.
3 Remplir la bouteille de production de CO
2
jusqu’au trait de marquage (flèche) avec de l’eau de distribution entre 20 et 25 °C (pas plus
de 25 °C !). Revissez fermement le couvercle.
Remarque : Le raccordement du couvercle au flexible contient un micro-filtre blanc. Ne pas le retirer.
4 Détachez ou découpez soigneusement le couvercle rabattable.
5 Fixez le flexible sur le raccordement.
6 Placez la bouteille de production de CO
2
dans la boîte support.
Remarque : La bouteille prend un peu de volume en produisant du CO
2
. Le boîtier de support est un peu plus grand pour lui permettre
de s’étendre sans problème.
7 Rincez le Mini-Topper avec de l’eau de distribution chaude (sans détergent !).
8 Raccordez le flexible CO
2
au Mini-Topper. Dans l'aquarium, choisir un emplacement présentant un mouvement d'eau suffisant. Cet
emplacement ne devrait pas être trop éclairé pour éviter la formation d'algues. Fixez le mini Topper à l’horizontale, ouverture tournée
vers le bas, 5 à 10 cm en dessous du niveau de l’eau.
Si les conditions d’utilisation sont respectées, la production de CO
2
commence dans un délai de 24 à 48 heures et alimente votre aquarium
pendant au moins 30 jours.
Changer la bouteille de production de CO
2
bio
La bouteille est épuisée quand les bulles cessent de s’échapper de l’ouverture du Mini-Topper. Dans ce cas:
• Retirez la bouteille de la boîte support et ôtez le flexible du couvercle.
• Entamez une nouvelle bouteille de production de CO
2
bio (disponible en animalerie) et réinstallez le dispositif.
Vous pouvez jeter le contenu de la bouteille usagée dans les canalisations.
Nettoyage du Mini-Topper
Nettoyez le Mini-Topper à l'eau chaude, à l'aide d'une éponge douce. N’utilisez pas de détergent. La fente permettant l’évacuation des
mauvais gaz doit toujours rester propre et ne pas être bouchée avec des algues ou des feuilles.
Que faire si... - Résolution des problèmes
Remarques particulières
Conservation dans son emballage fermé : Contenu de la bouteille, env. 5 ans ; capsules de démarrage : env. 12 mois à 20 °C, env.
18 mois à 10 °C. Privilégier donc la conservation du dépôt de réserve de CO
2
dans un endroit frais et sec. Protéger du soleil, de la cha-
leur et du gel !
Attention !
• Si de grandes quantités du contenu de la bouteille venaient à se déverser dans l’aquarium pendant l’utilisation de l’installation de
fumure CO
2
bio, cela peut troubler l’eau et entraîner un manque d’oxygène. Dans ce cas, effectuez immédiatement un changement
partiel de l’eau et vérifiez le bon fonctionnement de l’installation de fumure. Ne pas remplir la bouteille de production de CO
2
bio au
delà de la limite indiquée (flèches).
• Veuillez conserver le dépôt de réserve de CO
2
à la verticale et hors de portée des enfants !
Pièces de rechange (disponibles dans les magasins spécialisés)
3004 Dépôt de réserve de CO
2
bio
1557 5 capsules de démarrage
1515 Ventouses Longlife, 2 pièces
Bio Starter
Biologische CO
2
-Düngung für 60 cm Aquarien (50-80 l).
Mit Control-Gel und Mini-Topper.
Was ist was
햲 Bio CO
2
Vorrats-Depot mit Starterkapsel
햳 Haltebox
햴 CO
2
Schlauch
햵 CO
2
Mini-Topper
Aufbau und Anschluss
1 Wählen Sie eine gut zugängliche Stelle am Aquarium zur Befestigung der Haltebox. Schutzfolie von Klebestreifen abziehen. Bio CO
2
Vorrats-Depot in Haltebox stellen und Haltebox oben am Aquarium, senkrecht an eine saubere, fettfreie Aquarienscheibe ankleben. Die
beiden seitlichen Befestigungslaschen mit den Klebestreifen fest andrücken.
Bitte beachten: Die Klebestreifen haften sehr fest. Nach dem Andrücken lässt sich die Haltebox nicht mehr verschieben.
2 Flasche aus Haltebox nehmen und Deckel vom Bio CO
2
Vorrats-Depot abschrauben. Klappdeckel öffnen und Starterkapsel heraus-
nehmen. Grüne Kapselhälfte vorsichtig nach oben abziehen. Inhalt der Starterkapsel in das Vorrats-Depot schütten. Leere Kapselhälften
ebenfalls einwerfen.
3 Vorrats-Depot bis zum Markierungsstrich (Pfeile) mit 20 bis 25 °C warmem Leitungswasser füllen (nicht über 25 °C!). Deckel fest
zuschrauben.
Hinweis:
Im Schlauchanschluss des Deckels ist ein weißer Mikro-Filter eingebaut - nicht entfernen.
4 Klappdeckel abbrechen oder vorsichtig abschneiden.
5 Schlauch auf Schlauchanschluss fest aufstecken.
6 Vorrats-Depot in Haltebox stellen.
Hinweis:
Das Vorrats-Depot wird durch die CO
2
-Produktion etwas voluminöser. Damit es sich problemlos ausdehnen kann, ist die Haltebox
entsprechend größer.
7 Mini-Topper mit warmem Leitungswasser (ohne Reinigungsmittel!) abspülen.
8 CO
2
Schlauch an Mini-Topper anschließen. Im Aquarium eine Stelle mit guter Wasserbewegung wählen. Die Stelle sollte nicht zu hell sein,
um möglicher Veralgung vorzubeugen. Mini-Topper waagerecht, mit der Öffnung nach unten, 5-10 cm unter dem Wasserspiegel
befestigen.
Die CO
2
-Produktion beginnt bei richtiger Anwendung innerhalb 24-48 Stunden und versorgt Ihr Aquarium mindestens 30 Tage mit CO
2
.
Bio CO
2
Vorrats-Depot wechseln
Wenn an der Öffnung des Mini-Topper keine Blasen mehr austreten, ist das Vorrats-Depot verbraucht. Dann:
• Vorrats-Depot aus Haltebox nehmen und Schlauch vom Deckel abziehen.
• Neues Bio CO
2
Vorrats-Depot starten und anschließen.
Der Inhalt des verbrauchten Vorrats-Depots kann über die Kanalisation entsorgt werden.
Reinigung Mini-Topper
Mit warmem Wasser und weichem Schwamm. Keine Reinigungsmittel verwenden. Der Schlitz für die Falschgasentlüftung sollte stets saber
und nicht durch Algen oder Blätter verstopft sein
Was tun wenn... - Fehlerbehebung
Besondere Hinweise
Haltbarkeit in ungeöffnetem Zustand: Flascheninhalt ca. 5 Jahre; Starterkapseln: ca. 12 Monate bei 20 °C, ca. 18 Monate bei 10 °C.
Deshalb Bio CO
2
Vorrats-Depot bitte kühl und trocken lagern. Vor Sonne, Hitze und Frost schützen!
Achtung!
• Sollten während des Betriebs der Bio CO
2
-Düngeanlage versehentlich größere Mengen des Flascheninhalts ins Aquarium gelangen, so
kann dies zu Wassertrübung und Sauerstoffmangel führen. In diesem Fall sofort entsprechenden Teilwasserwechsel durchführen und
sachgerechte Funktion der Düngeanlage überprüfen. Deshalb: Vorrats-Depot NICHT über Markierungsstrich (Pfeile) füllen! Flasche stets
in Haltebox betreiben, um ein Umfallen zu verhindern!
• Bio CO
2
Vorrats-Depot für Kinder unerreichbar und immer stehend aufbewahren!
Ersatzteile (im Fachhandel erhältlich)
3004 Bio CO
2
Vorrats-Depot
1557 5 Starterkapseln
1515 Longlife-Sauger, 2 Stück
D
Vertrieb: DENNERLE GmbH, D-66957 Vinningen • Kundenservice: DENNERLE GmbH, Industriestraße 4, D-66981 Münchweiler • www.dennerle.com
F
Vente: DENNERLE GmbH, D-66957 Vinningen • Service après - ventes: DENNERLE GmbH, Industriestraße 4, D-66981 Muenchweiler • www.dennerle.co m Sales: DENNERLE GmbH, D-66957 Vinningen • Kundenservice: DENNERLE GmbH, Industriestraße 4, D-66981 Muenchweiler • www.dennerle.com
햲
햳
햴
햵
❿
①
❡
❫
♠
Problème
Aucune bulle ne s’échappe
visiblement au bout de 48
heures
Cause
Le couvercle de la bouteille de production ou
le raccordement du flexible n’est pas herméti-
que.
La production de CO
2
n’a pas encore démarré
car le dépôt de réserve est trop froid en rai-
son de la faible température de la pièce.
Démarrage retardé.
La capsule de démarrage n’a pas encore lancé
le processus de fermentation.
Solution
Vissez fermement le couvercle, insérez le flexible.
Recontrôler la production de CO
2
48 heures plus
tard. Augmentez éventuellement un peu la tem-
pérature de la pièce.
Redémarrez la bouteille de production avec une
2e capsule (disponible en animalerie).
GB
Fehler
Nach 48 Stunden
keine Blasen am
Mini-Topper
zu sehen.
Ursache
Deckel des Vorrats-Depots oder Schlauchverbindung
undicht.
CO
2
-Produktion noch nicht angesprungen, da
Vorrats-Depot zu kühl, dadurch verzögerter Start.
Starterkapsel hat Gärprozess nicht richtig in Gang
gebracht.
Behebung
Deckel fest zuschrauben, Schlauch fest aufstecken.
Nach 48 Stunden CO
2
-Produktion erneut prüfen.
Raumtemperatur eventuell etwas erhöhen.
Vorrats-Depot mit einer 2. Kapsel
(im Zoofach han del erhältlich) neu starten.
Fault
No bubbles visible on
the Mini-Topper after
48 hours.
Cause
Top of CO
2
bottle or hose connector leaking.
CO
2
production not yet started, as CO
2
bottle too cool,
resulting in delayed start.
Starter capsule has not triggered fermentation process
correctly.
Remedy
Screw top firm, fit hose firmly.
Check CO
2
production again after 48 hours. Raise
room temperature slightly, if appropriate.
Start CO
2
bottle again with a 2nd capsule (availa-
ble from pet retail outlets).