Manual.ly Logo

Chicco Baby Hug 4 in 1 Handleiding

0,0 · 0 Beoordelingen

PDF handleiding · 112 Pagina's

Nederlands

M: GO-GEM-FL-25
pagina

/ 112

Loading...
c2b283e0701ef547d8f033ee65ada21c6ffd page 10
16
17
CLEANING
Clean the plastic parts with a soft damp cloth. Never use
abrasive detergents or solvents. If the highchair comes
into contact with water, dry the metal parts to prevent
the formation of rust.
MAINTENANCE
• This product requires periodical maintenance.
• Cleaning and maintenance operations must only be
carried out by an adult.
• Periodically check the product for broken, damaged or
missing parts: do not use it in this case.
• To avoid friction that may compromise the correct
functioning of the product, ensure that all the moving
plastic parts located along the metal frame are free of
dust, dirt and sand.
• If necessary, lubricate the moving parts with dry sili-
cone lubricant.
• Store the product in a dry place.
COMPONENTS
The product is completely disassembled when pur-
chased; check that all of the components listed below
are present. If any part is missing contact ARTSANA’s
CUSTOMER SERVICES.
The product and all of its components must always be
assembled by an adult.
A - Height adjustable pedestal frame
A1 - 4 wheels with brakes
B - Seat frame
C - Seat structure
D - Tubular seat frame
E - Fabric (with shoulder straps)
F - Booster cushion
G - Toybar
G1 - Light / sound game buttons
G2 - 3 soft toys
I - Upper fabric zips
L - Plastic clips
M - Height adjustment pedal
N - Backrest recline lever
ASSEMBLY
The product is not assembled when purchased. To use
it, carry out the following assembly operations:
1. The rst thing to do is assemble the “A1” wheels on
height adjustable base frame “A”. To do this place the
frame on a rug or soft surface so as not to damage the
oor or frame. Assemble the 4 “A1” wheels inserting
the pins in the 4 holes under height adjustable base
frame “A” as shown in gure 1.
WARNING: Fully insert the wheel pin into the hole in
the base. At this point the base can be rested on the
oor.
2. Insert the fasteners of seat frame “B” into the respec-
tive tubes on seat structure “C” until they click into
place (Fig. 2).
3. Assemble the seat (seat frame “B” + seat structure
“C”) on the base: insert the two tubes on base “A”
into the corresponding holes on seat frame “B” until
they click into place (Fig. 3).
WARNING: The backrest must face the height adjust-
ment pedal (I) as shown in Fig. 3a.
4. Insert tube “D” into the corresponding holes on seat
frame “B” until they click into place (Fig. 4).
5. To assemble fabric “E” line up the holes on the fabric
with the restraint system installed on seat structure
“C”. Pass the two lateral arms of seat frame “B” through
the side fabric holes (FIG. 5), insert the pins of the
arms into the holes on either side of the backrest (FIG.
5a) until they click into place.
WARNING: Check that both arms are assembled cor-
rectly.
6. Attach fabric “E” using the two perimeter zips above
seat frame “B” (Fig. 6).
7. Pass the crotch strap and waist straps on seat struc-
ture “C” through the holes of fabric “E” (Fig. 7-7a-7b-
7c).
8. Attach the fabric (E) to the bottom of seat structure
“C”, making sure to insert all of the plastic clips in the
right slots (Fig. 8-8a).
BOOSTER CUSHION
9. Reducer cushion “F” is ideal from birth and can be
used or removed as necessary. To attach it to the
seat, place it on the fabric, pass the crotch strap and
waste straps through the holes in booster cushion “F”
(reclined cradle mode), (Fig. 9). In highchair mode it
is also necessary to pass the shoulder straps through
the holes of the booster cushion (Fig. 9a).
TOYBAR
10. The toys can be attached to the toybar by passing the
straps through the plastic openings on the bar (Fig.
10) and fastening the velcro.
11. Assemble the toybar (with the light positioned to-
wards backrest recline lever “N”) inserting the pins of
the bar into the holes on seat frame “B” until it clicks
into place (Fig. 11).
12. To incline the toybar in the three possible positions
press the side buttons (Fig. 12).
13. To remove the toybar press the buttons on the inside
of the bar support and pull upwards (Fig. 13).
WARNING: Always check that the toybar is properly
fastened before using it.
WARNING: To prevent possible injury by entaglement,
remove this toy when the child starts trying to get up
on its hands and knees in a crowling position.
HEIGHT ADJUSTMENT
14. Once assembled, the product can be adjusted to
various heights in all congurations. To adjust its
height, hold down height adjustment pedal “M” (Fig.
14) and lift or lower the seat to the desired height.
ADJUSTING THE BACKREST
15. The backrest can be adjusted to four dierent posi-
tions. To do this, push down on backrest recline lever
“N” (Fig. 15).
Position 1 – Crib mode (Fig. 15a)
Position 2-3 – Reclined cradle mode (Fig. 15b)
Position 4 – Highchair and rst chair at the table mode
(Fig. 15c)
These adjustments can also be made with your child
seated in the product. In this case it will be slightly more
dicult.
WARNING: Always check that the backrest is properly
locked before use.
USING THE SAFETY HARNESS
16. With fabric “E” assembled on seat structure “B”, there
will be a crotch strap, two waist straps and two
shoulder straps (Fig. 16).
17. CRIB MODE - WARNING: Completely remove all
safety harnesses making sure to keep them out of
the reach of your child (Fig. 17).
18. RECLINED CRADLE MODE - WARNING: A 3-point
restraint system must be used: crotch strap + waist
straps (Fig. 18).
19. After placing your child in the seat, reclined cradle
mode, fasten the straps by passing the two prongs
through the crotch strap buckle; adjust the waist
straps so that they t closely around your child’s
waist (Fig. 19).
20. HIGHCHAIR AND FIRST SEAT AT THE TABLE
MODE - WARNING: A 5-point restraint system
must be used: crotch strap + waist straps + shoulder
straps (Fig. 20).
WARNING: In this conguration the toybar must al-
ways be positioned behind the backrest.
21. After placing your child in the seat in highchair
mode, fasten the straps by passing the two prongs
through the shoulder strap buckle (Fig. 21) and then
through the crotch strap buckle (Fig. 21a); Adjust the
height of the shoulder straps so that they correctly
t your child’s shoulders.
Always make sure that the straps are fastened correctly.
To unfasten the strap, press and pull the side prongs.
WARNING: When using the product, always fasten the
straps by inserting them in the crotch strap and check
that they are tight enough and properly fastened.
22. The safety harness straps can be removed (for washing
or for use in the crib/reclined cradle conguration).
To remove the harnesses pull the waist and crotch straps
out from the holes in the fabric (Fig. 22-22a-22b) until
they are hidden on the seat frame and pull the shoulder
straps out from the fabric holes on the backrest (Fig. 22c
-22d). After removing the safety harnesses, make sure
that the harnesses are correctly re-assembled.
To re-assemble the safety harnesses, carefully follow the
steps below:
23. Follow point 7 of the ASSEMBLY paragraph to re-
assemble the waist straps and crotch strap. For the
shoulder straps, pass the strap through the hole as
shown in Fig. 23, making sure that the length adjust-
er is positioned as shown in the gure.
Take the plastic hole of the shoulder straps and pass it
through the fabric ring of the harness (Fig. 23a).
Having performed this operation correctly, pull the har-

Chat met je Chicco Baby Hug 4 in 1-handleiding via AI

Krijg direct AI-antwoorden uit je Chicco Baby Hug 4 in 1-handleiding

Vraag alles over Chicco Baby Hug 4 in 1. Antwoorden komen uit deze handleiding, met de pagina's waarop ze zijn gebaseerd.

Baby Hug 4 in 1 Onderhoudsschema

Na elke wasbeurt
Controleer stof en naden

Verifieer de weerstand van de stof en naden na elke wasbeurt om veiligheid te garanderen.

Periodiek
Controleer op beschadigingen

Controleer het product regelmatig op gebroken, beschadigde of ontbrekende onderdelen en gebruik het niet als deze worden gevonden.

Periodiek
Reinig bewegende plastic onderdelen

Verwijder stof, vuil en zand van plastic onderdelen die over metalen buizen schuiven om wrijving te voorkomen.

Indien nodig
Smeer bewegende onderdelen

Breng droge silicone-smeermiddel aan op bewegende onderdelen indien nodig om een correcte werking te garanderen.

M: QW-35-FL

Stel eenVraag

0/1000

Beveel je Baby Hug 4 in 1 aan?

Ja Nee

Veelgestelde Vragen

A

Het kan vanaf de geboorte worden gebruikt in wieg- en ligwiegstand tot 9 kg, en daarna vanaf ongeveer 6 maanden in hoge stoel- en eerste stoelstand tot 36 maanden en 15 kg.

Is dit antwoord nuttig?

A

Nee. De ligwieg is niet bedoeld voor langdurig slapen. Als een kind langer moet slapen, gebruik dan in plaats daarvan een geschikt babybedje of bed.

Is dit antwoord nuttig?

A

Ja. De speelgoedbeugel kan naar behoefte worden bevestigd of verwijderd. In hoge stoelstand moet hij voor de veiligheid altijd achter de rugleuning blijven.

Is dit antwoord nuttig?

A

De stof mag alleen met de hand in koud water worden gewassen. Niet bleken, in de droger doen, strijken of chemisch reinigen. Controleer na het wassen de naden en de staat van de stof.

Is dit antwoord nuttig?

A

Ja. Alle vier de wielen moeten vergrendeld zijn wanneer het product in gebruik is, om het stabiel te houden en het risico op beweging of omkantelen te verminderen.

Is dit antwoord nuttig?

A

Controleer dat alle onderdelen correct zijn gemonteerd, de vergrendelmechanismen zijn vastgezet, het harnas goed is bevestigd en dat geen enkel onderdeel gebroken, gescheurd of ontbrekend is.

Is dit antwoord nuttig?

M: GO-GEM-FL-25

Voordelen en Nadelen

Voordelen

  • 4-in-1 ontwerp groeit mee met het kind van geboorte tot 36 maanden.
  • Verstelbare hoogte en een achterover leunende rugleuning ondersteunen verschillende dagelijkse routines.
  • Verwijderbare speelgoedbeugel met lichtjes en geluiden zorgt voor vermaak in de vroege fase.
  • Wasbare, verwijderbare stof- en harnasdelen maken reinigen en onderhouden eenvoudiger.
VS

Nadelen

  • Wisselen van stand vereist zorgvuldige montage door een volwassene en regelmatige veiligheidscontroles.
  • Het product moet altijd met het juiste bevestigingssysteem worden gebruikt.
  • Wieg- en ligwiegstanden zijn beperkt tot een relatief korte leeftijdsperiode.
  • Batterijen en bewegende onderdelen van de speelgoedbeugel vereisen periodiek onderhoud en aandacht.
M: GO-GEM-FL-25

Product Specificatie

Gewicht

10,20 kg

Afmetingen (BxHxD)

850x880-1220x600 mm

Kenmerken

in hoogte verstelbaar, om te bouwen tot kinderstoel, melodiefunctie

M: GO-GEM-FL-25

Product Beschrijving

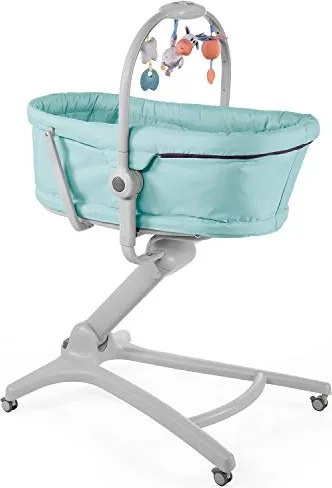
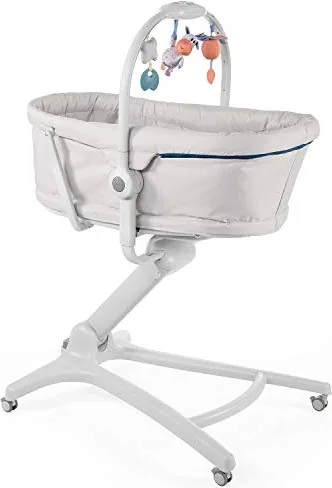
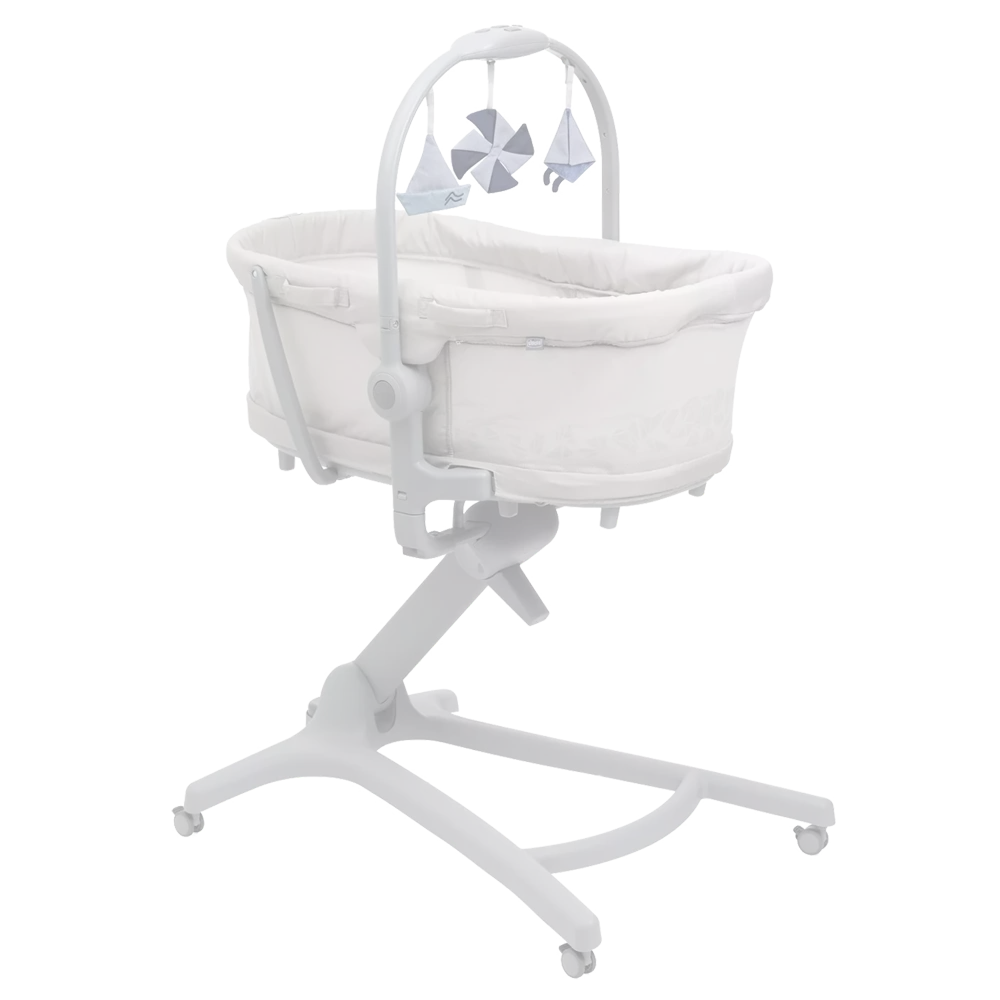
Chicco Baby Hug 4 in 1 Wiegje: Eén slimme stoel voor de eerste drie jaar

De Chicco Baby Hug 4 in 1 Wiegje onderscheidt zich als een veelzijdige oplossing voor de babykamer die een kind door verschillende vroege fasen begeleidt met verrassend veel gemak. Vanaf de eerste dagen thuis tot de peuterjaren kan het werken als een wiegje, een ligwieg, een hoge stoel en een eerste stoel aan tafel. Die flexibiliteit maakt het aantrekkelijk voor ouders die compacte oplossingen waarderen zonder in te leveren op comfort of praktisch gebruik.

In wiegstand biedt het een knusse rustplek voor pasgeborenen tot 9 kg, terwijl de ligwiegstand gezinnen een comfortabele plek geeft voor onder toezicht ontspannen tijdens de eerste maanden. Later, wanneer een kind zelfstandig kan zitten, verandert het product in een hoge stoel en eerste stoel die geschikt zijn voor maaltijden en dagelijkse familieroutines tot 36 maanden en 15 kg. Het resultaat is één babyartikel dat zich aanpast aan veranderende routines in plaats van na enkele maanden ongebruikt te blijven staan.

Het ontwerp richt zich ook op gebruiksgemak. Een in hoogte verstelbaar systeem helpt de stoel af te stemmen op verschillende meubelopstellingen, en de rugleuning kan in meerdere standen worden versteld om aan het beoogde gebruik te voldoen. Een afneembare speelgoedbeugel met lichtjes, geluiden en zachte speeltjes voegt een speels element toe, vooral in de vroege fasen. Voor veel ouders wordt de Chicco Baby Hug 4 in 1 Wiegje Handleiding hierbij handig, omdat die uitlegt hoe je veilig tussen de standen wisselt en elke configuratie optimaal gebruikt.

Een ander sterk punt is het dagelijks onderhoud. De afneembare textieldelen, veiligheidsharnassen en makkelijk schoon te maken oppervlakken maken het beter beheersbaar voor drukke huishoudens. Het product is bovendien gebouwd met veel aandacht voor stabiliteit en toezicht, met de herinnering aan verzorgers om de wielen te vergrendelen, de vergrendelpunten te controleren en het juiste bevestigingssysteem voor elke stand te gebruiken. Deze details zijn belangrijk, omdat een multifunctioneel product even veilig als praktisch moet aanvoelen.

Opmerkingen

  • Het meest geschikt voor ouders die op zoek zijn naar een langdurige, ruimtebesparende oplossing.
  • Volg altijd zorgvuldig de installatie stappen voordat u van stand wisselt.
  • Regelmatige inspectie en goed reinigen helpen prestaties en uiterlijk te behouden.
  • De speelgoedbeugel is leuk voor jongere baby's, maar moet worden verwijderd zodra het kind mobieler wordt.
M: GO-GEM-FL-25

© Copyright 2026 Manual.ly